
How to Unpack the Autofeeder Carton Box
1
Place the pallet with your carton boxes in a large environment, close to a table or other sturdy surface.
Your pallet will be covered in wrap and held secured with several strips.
First, carefully cut and remove the wrap. Then, cut and remove the strips. Always make sure you are not cutting the carton box.
The box should now be as in Picture 1.
2
Carefully lift and remove the top of the box, without cutting it open.
Slowly lift the top part of the box, as seen in Picture 2, carefully removing it from the bottom.
You will now have your Autofeeder part protected by a carton frame, as seen in Picture 3.


3
Lift and remove the carton frame.
First, remove the carton frame as seen in Picture 4. Your Autofeeder parts should now look as in Picture 5 and Picture 6.


4
Unpack parts one by one and place them on sturdy, secure surface.
Make sure you are holding the Autofeeder Conveyor, as seen in Picture 7 with one hand holding the rails and the other holding the motor-housing. Please, make sure you are not holding directly onto the belt.
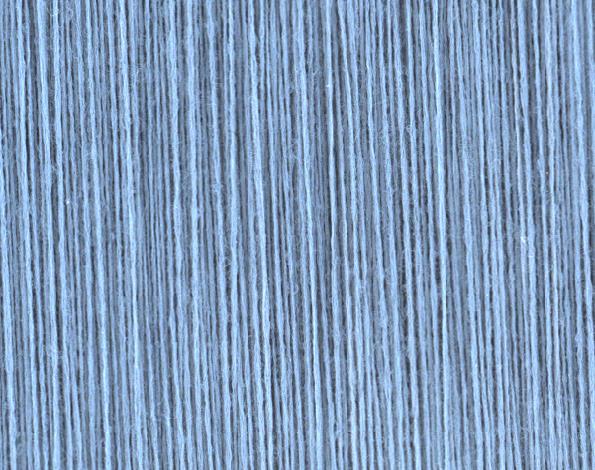
Yarn color, measured on the yarn, not the weave
On a woven fabric the yarn sits on raised ridges with shadowed valleys between the threads. A single averaged reading blends ridges, valleys and shadows together, so the number drifts with weave and construction rather than the dye. VideometerLite+ classifies the ridge pixels where the true yarn surface shows and measures color there.
Ridge-weighted
R² 99.3%
color strength (L*) vs dye dose
Conventional avg
R² 87.3%
same trial, averaged reading
Strawberry powder color, region by region
A tub of strawberry powder looks like one pink color, but it is a mix of redder clumps and lighter grains. A single average hides that spread. VideometerLite+ resolves color across the whole sample and reports L*a*b* for each region independently, so batch-to-batch shade and uniformity are quantified, not eyeballed.
Redder clumps
a* 40.6
L* 40.0 · b* 5.6
Lighter grains
a* 36.6
L* 48.3 · b* 6.8
 Redder clumps
 Lighter grains
 RGB
RGB
 Spectral (band 5)
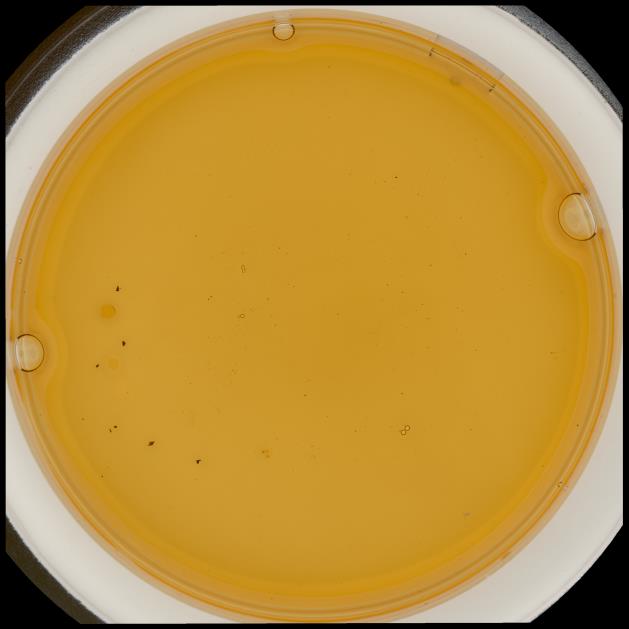
Tea varieties that look identical, told apart
Two brewed tea varieties look almost the same in the cup. Their spectral reflectance does not. Across 15 bands the varieties separate cleanly, with the largest gap in the green to amber region, so a simple threshold on those bands sorts one variety from the other, and a spectral transformation renders each as its own color.
Variety CH
15.4%
mean reflectance, band 5
Variety P
18.3%
mean reflectance, band 5
Download and learn more about measuring color with the VideometerLite+
Download6
Remove Safety Screw from Vibrator
Note that, at the bottom of the Vibrator, you will find a safety screw, placed to secure it during shipping. In order to securely place the Vibrator on a sturdy surface, you must remove this screw. See (Pictures 8a and 8b).
Save it for eventual future shipping or moving of the Vibrator.
Both stickers may be removed.
7
Remove Autofeeder box and begin unpacking VideometerLab.
Once the box has been completely unpacked, you can remove the Autofeeder box and begin unpacking the Videometerlab (Picture 9).
How to Unpack the VideometerLab Carton Box
1
Carefully lift and remove the top of the box, without cutting it open.
Slowly lift the top part of the box, as seen in Picture 2, carefully removing it from the bottom.

2
Lift and remove the carton frame.
First, carefully remove the carton frame as seen in Picture 3. Then, remove the plastic wrap around the VideometerLab (Picture 4).
Your instrument should now look as in Picture 5.


3
Carefully lift the VideometerLab and place it on a flat and sturdy surface.
It is a good idea to save the boxes for eventual future use (moving the instrument to a new location, shipping for mantainance, etc.).
4
Follow the instructions in the VideometerLab with Autofeeder User and Mantainance Manual.
Follow the instructions in the VideometerLab and VideometerLab with Autofeeder User and Mantainance Manuals to install the Autofeeder correctly onto your VideometerLab.
The manuals can be found in the VideometerLab Software under Help – User Manuals – Imaging Devices.